How to Make Homemade Modeling Clay – Scientific Adventures in the Kitchen
Mix flour, salt, water, and a bit of oil to create homemade modeling clay for creative play. A simple and fun activity for kids!
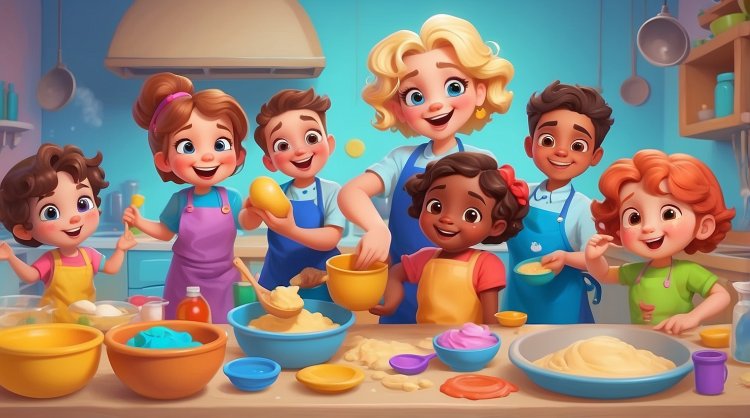
Lena and Petya sat in the kitchen surrounded by all kinds of experimental tools. Today, they decided to make something unusual that would help develop their creative imagination. This time, they decided to make modeling clay – but not just any clay, but real homemade modeling clay that could be used to create various figures and models. This was much more interesting than simply buying ready-made clay from the store.
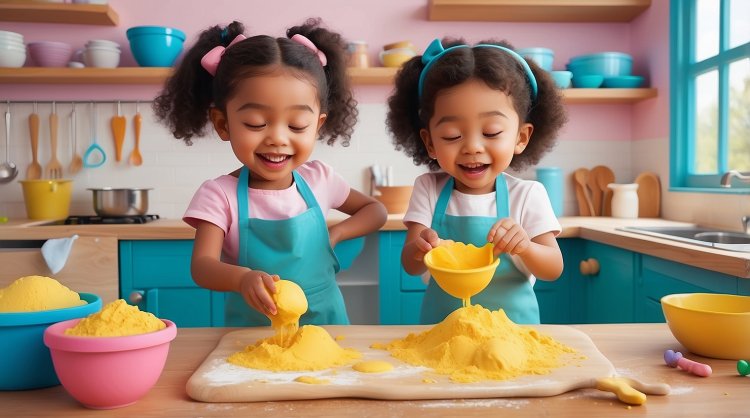
— We can make clay at home, with simple ingredients, — Lena said, looking at a recipe book she held in her hands. — We need flour, salt, water, and a little oil. These are common things that everyone has in their kitchen.
— Cool! What if we add some dye? — asked Petya, who always loved experiments and wanted to make the process even more interesting.
Lena thought for a moment, then smiled and said:
— Of course, we can add some dye to make the clay colorful! We can make different colors for different figures. It will be fun.
Petya was excited about the idea. He loved making things by hand, and here he could not only create the clay but also develop his imagination by making different colors and textures.
— Let’s get started, — he said, standing up and heading for the table. — I’ll take the flour and salt, and you prepare the water and oil!
Lena and Petya got to work. Petya poured flour into a bowl and added the salt, while Lena poured water into a small pot to heat it on the stove. Once the water was a little warm, they mixed all the ingredients in a large bowl.
— Let’s add some oil to make the clay soft, — suggested Lena, carefully pouring a few drops of vegetable oil into the mixture.
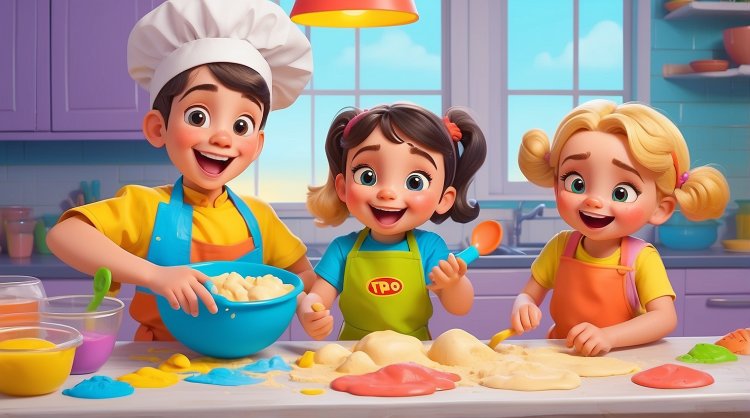
When all the ingredients were well mixed, Petya began stirring the mixture vigorously with a spoon. Gradually, the mixture became thicker and more like dough.
— Oh, look, it’s almost done! — said Petya. — Now let’s add the dye. I want to make blue clay for my dragon, and what will you make?
Lena smiled and chose red. — I’ll make a heart, and then I can make a pink kitten! — she said.
Once the clay had the right consistency, Petya started dividing it into parts and adding a drop of blue dye to one of them. Lena, on the other hand, added a bit of red dye to her portion. After the clay became bright and colorful, they began sculpting.
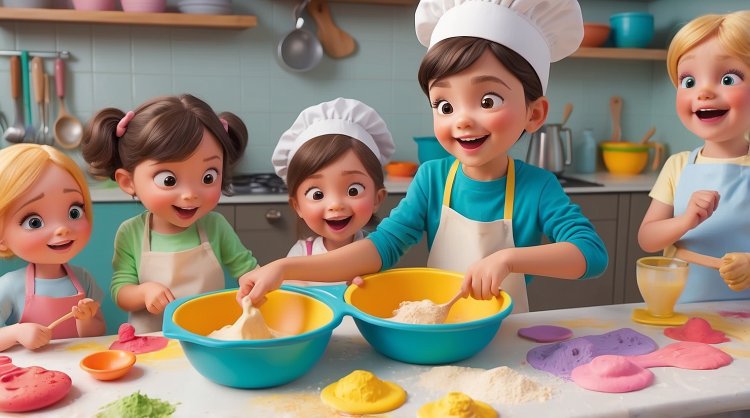
— Look, how cool! My dragon is ready! — said Petya, showing off his figure.
— And my kitten is going to be the cutest! — Lena proudly placed her figure next to Petya’s.
And so, the experiment ended. The children realized that making modeling clay was not only fun but also useful, as they could make it themselves, choosing the colors and shapes for their future projects.

What's Your Reaction?


